
 Ask Boiler or System Questions. Leave Comments
Balancing A One Pipe Steam Boiler
A one-pipe steam system that heats the front bedrooms before the thermostat is satisfied while the back rooms remain cold is not usually a radiator-sizing problem. Balancing a one pipe steam system is primarily an air-management and steam-distribution exercise. Before changing vents, verify that the boiler can make dry steam, the mains can release air quickly, and condensate has a reliable path home.
The common mistake is treating each radiator vent as an isolated adjustment. A radiator vent matters, but it is the last part of a larger sequence. If a main is slow to vent, steam spends too much time filling basement piping while nearby radiators begin heating. If pressure is excessive, vents can become noisy, water can be lifted into piping, and radiator behavior becomes inconsistent. A good balance starts at the boiler and moves outward.
What Balance Means in a One-Pipe Steam System
A balanced system does not necessarily make every radiator hot at the exact same second. It brings the building up to temperature without persistent cold rooms, overheating, vent noise, water hammer, or short cycling. The goal is for steam to reach the ends of the mains quickly then enter radiators at rates appropriate for each room's heat loss and location.
In a one-pipe system, the same runout carries steam to the radiator and condensate back from it. Air leaves through the radiator vent. That arrangement creates limits that cannot be corrected by simply installing the fastest vent available. Steam and returning condensate need room to pass each other. A radiator with a partially closed supply valve, poor pitch, or a waterlogged vent may heat poorly even when its vent is oversized.
Balance is also seasonal. A room that needs a fast vent during a January design-day call may overheat during mild weather. Thermostat location, solar gain, insulation upgrades, and occupancy all affect the final setting. Treat vent selection as field adjustment, not a permanent substitute for proper system design.
Start With the Boiler and Near-Boiler Piping
Before evaluating room-by-room performance, confirm that the boiler is properly matched to the connected radiation. On a steam replacement, the boiler should be selected from the system's connected EDR, with appropriate pickup consideration, not from a heat-loss calculation. Heat loss is still useful for judging insulation improvements and room comfort, but installed steam radiation determines the steam boiler's required capacity.
An oversized boiler can produce steam faster than the distribution system can handle. That often leads to rapid pressure rise, short cycling, wet steam, excessive fuel bills, and overheating near the boiler. No collection of radiator vents will make an oversized boiler behave like a correctly sized unit.
Inspect the header, equalizer, risers, and takeoffs against the boiler manufacturer's piping requirements. Undersized risers, incorrect takeoff arrangement, inadequate header height, or a missing equalizer can send wet steam into the mains. Wet steam carries water droplets, reduces distribution quality, and creates the classic complaints: banging pipes, spitting vents, uneven heat, and a boiler that seems to have no stable operating pattern.
Also verify the operating pressure. Most residential one-pipe systems work best at very low pressure. A vapor-stat is often the best control where the system can operate in ounces, while a properly adjusted pressuretrol may be acceptable on a conventional residential installation. The exact control settings depend on the equipment and system, but pressure should be the minimum required to distribute steam, not a tool for forcing cold radiators to heat. Residential steam pressure should never exceed 2 psi.
Vent the Mains Before You Tune Radiators
Main venting is the foundation of balancing a one pipe steam system. The mains contain far more air volume than a radiator, and that air must leave before steam can reach the radiator runouts efficiently. Main vents are generally located near the end of each steam main, before the dry return drops or returns toward the boiler.
A system with inadequate main venting usually shows a recognizable pattern: radiators close to the boiler heat early, end-of-main radiators lag, and occupants respond by installing aggressive vents on cold radiators. That can help slightly, but it does not remove the bottleneck in the main.
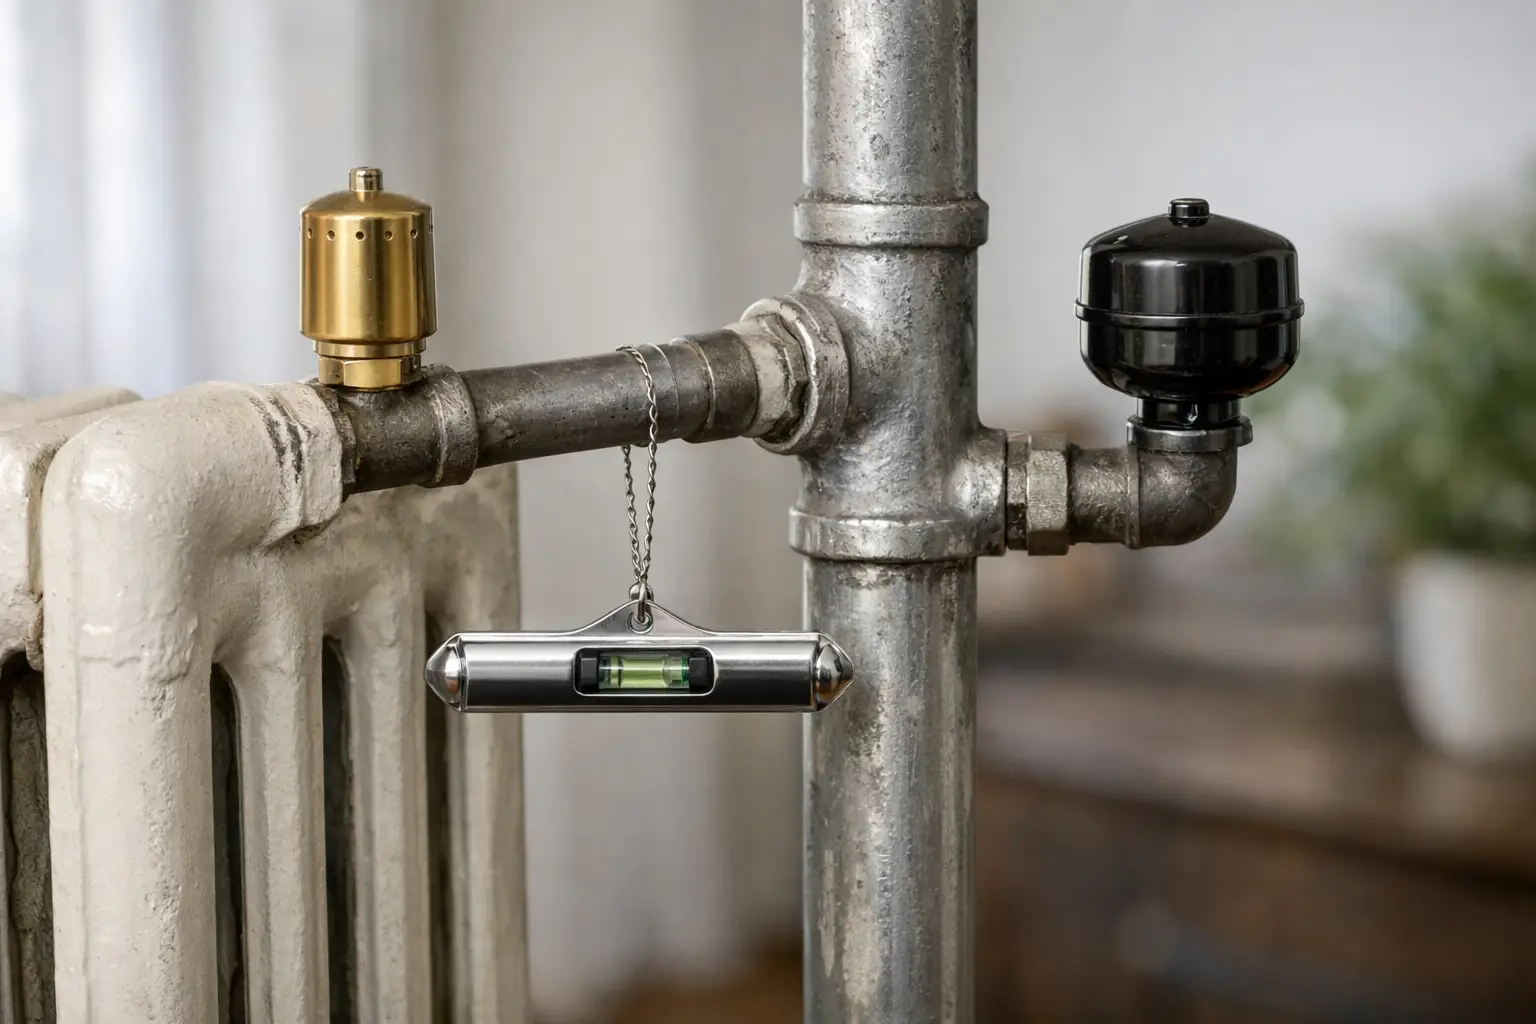
Check that every main has venting and that vents are installed upright, where they can remain above any condensate. Determine whether vents are working by observing a cold start. As steam approaches, a working vent should pass air quietly and then close. A vent that stays cold while nearby pipe is hot may be plugged or isolated by a piping problem. A vent that spits water is often reporting wet steam, poor pitch, excessive pressure, and located about halfway down the radiator not at the top, this is where a hot water vent would be located.
Different main lengths need different venting capacity. A long main should not be forced to wait for a short main simply because both have identical, minimal vent capacity. The objective is to get steam to the ends of the mains at approximately the same time. Once that happens, radiator vent adjustment becomes meaningful.
Check Each Radiator's Mechanical Conditions
Every radiator supply valve must be fully open or fully closed. It is not a regulating valve. A partially closed valve can trap condensate, restrict steam flow, and create water hammer. If a room is too warm, control it with venting adjustment, thermostat strategy, or a professional evaluation of radiation not by throttling the supply valve.
Confirm that the radiator pitches slightly toward the supply valve. The pitch does not need to be dramatic, but it must allow condensate to drain back into the runout. A radiator pitched away from the valve may gurgle, spit from the vent, and heat only partway across. Check the runout and branch piping as well when the complaint persists.
Radiator vents must be upright and selected for their application. A vent that fails open can overheat a room. A failed-closed vent leaves the radiator cold. Dirt, paint, and water contamination can all shorten vent life. Do not plug a vent to stop overheating. The radiator must be able to vent air and must have a safe path for pressure relief through the system design.
Adjust Radiator Venting With a Repeatable Method
After main venting, pressure, and drainage are correct, use radiator vents to fine-tune room response. Start with a documented baseline. Record each room's temperature, vent setting or model, radiator size, location, and observed heat-up time. Run the system from a cool condition, preferably when outdoor conditions are stable enough to produce a useful heating cycle.
Use this adjustment logic:
- Vent cold rooms faster when their radiators are slow to receive steam after the mains are hot.
- Vent overheated rooms slower, especially rooms near the thermostat or rooms with lower heat loss.
- Keep vents moderate on very large radiators unless the room genuinely needs a faster response.
- Change one or two radiators at a time, then observe several heating cycles before making another correction.
- Recheck main vents and pressure if every radiator requires an unusually fast setting to heat.
The fastest vent is not automatically the best vent. Very fast venting can pull steam into a radiator before condensate drainage is stable, particularly on marginal runouts. It can also make a room warm quickly and then create overheating after the thermostat shuts off. Slow, controlled venting often produces a more even building response.
Separate Distribution Problems From Control Problems
A system can be well balanced and still deliver poor comfort because the thermostat is poorly located. A thermostat in a fast-heating hallway, a sunny room, or near a kitchen can end the cycle before remote rooms receive their share of steam. Conversely, a thermostat in the coldest room may overheat the rest of the house.
Observe whether the cold room is cold because its radiator never receives steam, or because the thermostat ends the call too soon. Those are different faults. If the radiator is cold while the boiler is firing and the mains are hot, investigate venting, valve position, pitch, and runout conditions. If the radiator heats properly but the room is still cold after normal cycles, evaluate heat loss, air leakage, insulation, radiator capacity, and thermostat control strategy.
Short cycling on pressure is another control issue that masquerades as imbalance. When the boiler repeatedly shuts off on pressure before the thermostat is satisfied, look first at boiler sizing, firing rate, venting, and near-boiler piping. Raising the pressure setting typically makes the system less stable, not more comfortable.
Know When the Problem Is Not a Balancing Problem
Some conditions require repair before adjustment. Significant water hammer, a surging (bouncing) boiler waterline, leaking vents, failed low-water cutoff operation, blocked wet returns, or combustion concerns are not balancing details. They are service conditions that can damage equipment or create safety hazards.
Use normal steam safety practices. Shut off electrical power before servicing controls, allow hot piping to cool before handling vents, and do not disturb suspect insulation materials. If boiler piping, gas combustion, or pressure-control operation is in question, bring in a qualified steam technician rather than masking the symptom with a vent change.
A disciplined balancing process rewards patience. First make dry steam at low pressure, then vent the mains generously, then confirm drainage at every radiator, and only then adjust radiator venting in measured steps. When each adjustment follows the path steam actually takes through the system, the result is quieter operation, fewer comfort complaints, and a one-pipe system performs like the durable heating equipment it was designed to be. For more steam. For more info about steam boilers/systems please follow this link.